Hits Counter

Tuesday, March 29, 2011

Ssam Sol Tutorial 2- Different seam allowances, Gam chim jil

These are another Ssam Sol techniques without basting in the middle.
I have 2 different techniques but the results are the same.

Technique #1
This time the seam allowances are different. One is 1/4 inch and the other is 1/2 inch.

Make a crease line in the middle of the wider seam allowance.
Facing outside of the fabric together.

Sew with Gamchimjil.

Fold the wider seam down toward the narrower seam to cover it.


Sew with Gamchimjil.

Done!


Technique #2
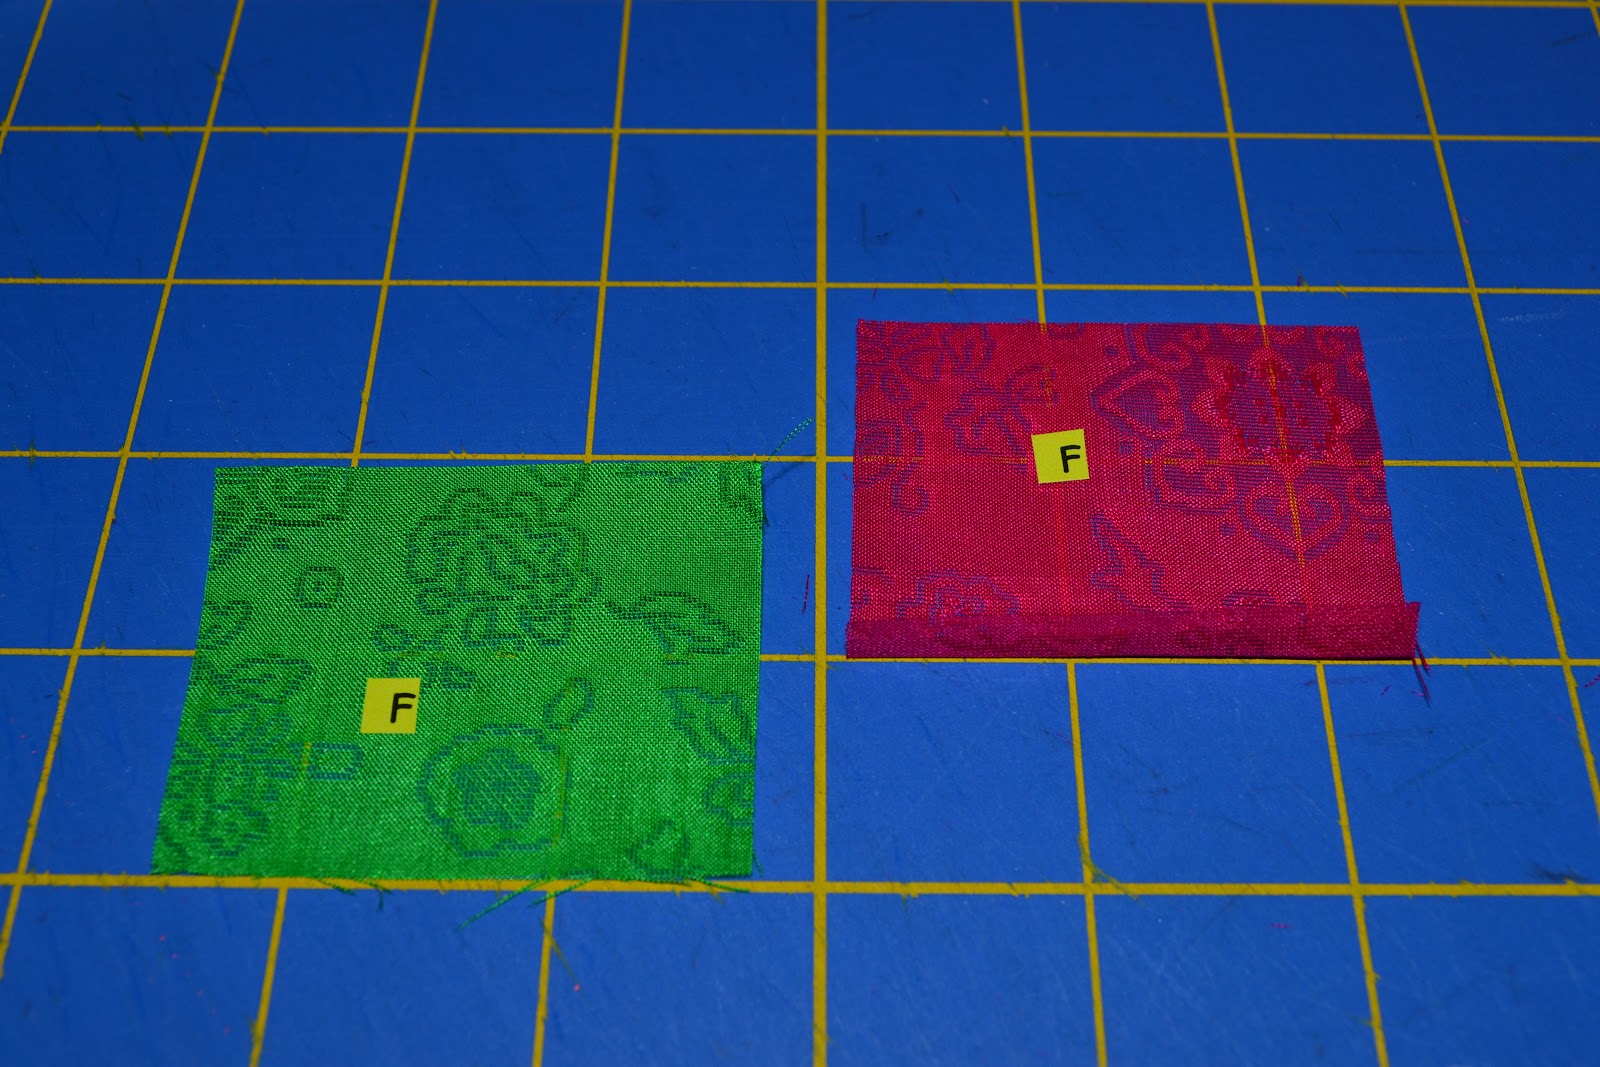
Start with same seam allowances (I started with 1/2 seam allowance).


Facing inside of the fabric together. 
Sew with Gamchimjil.


Open the seams and cut one seam allowance to 1/4 inch.

Now one side has narrower seam allowance than the other.
Make a crease line in the middle of the wider seam allowance.

Using that crease line, fold the wider seam down toward to the other side.

Fold down again.

Gamchimjil

Done!


Sunday, March 20, 2011

Ssam Sol Tutorial 1-Gam chim jil

Ssam sol is used to make Hot Bo(single layer bojagi).

First, fold seam line(1/4inch) using the bone folder.


Put two folded seam parts together.

Baste in the middle of two seam lines.


Fold one end backward and stitch using Gamchimjil(whip stitch/overcasting stitch) technique.


Iron the seam line with low heat.


Turn the fabric over.
Fold the other side seam line backward and do Gamchimjil.


Now we can see two seam lines. 
Take the basting thread out.
Iron again with low heat.


Wednesday, March 16, 2011

Rainbow of colors

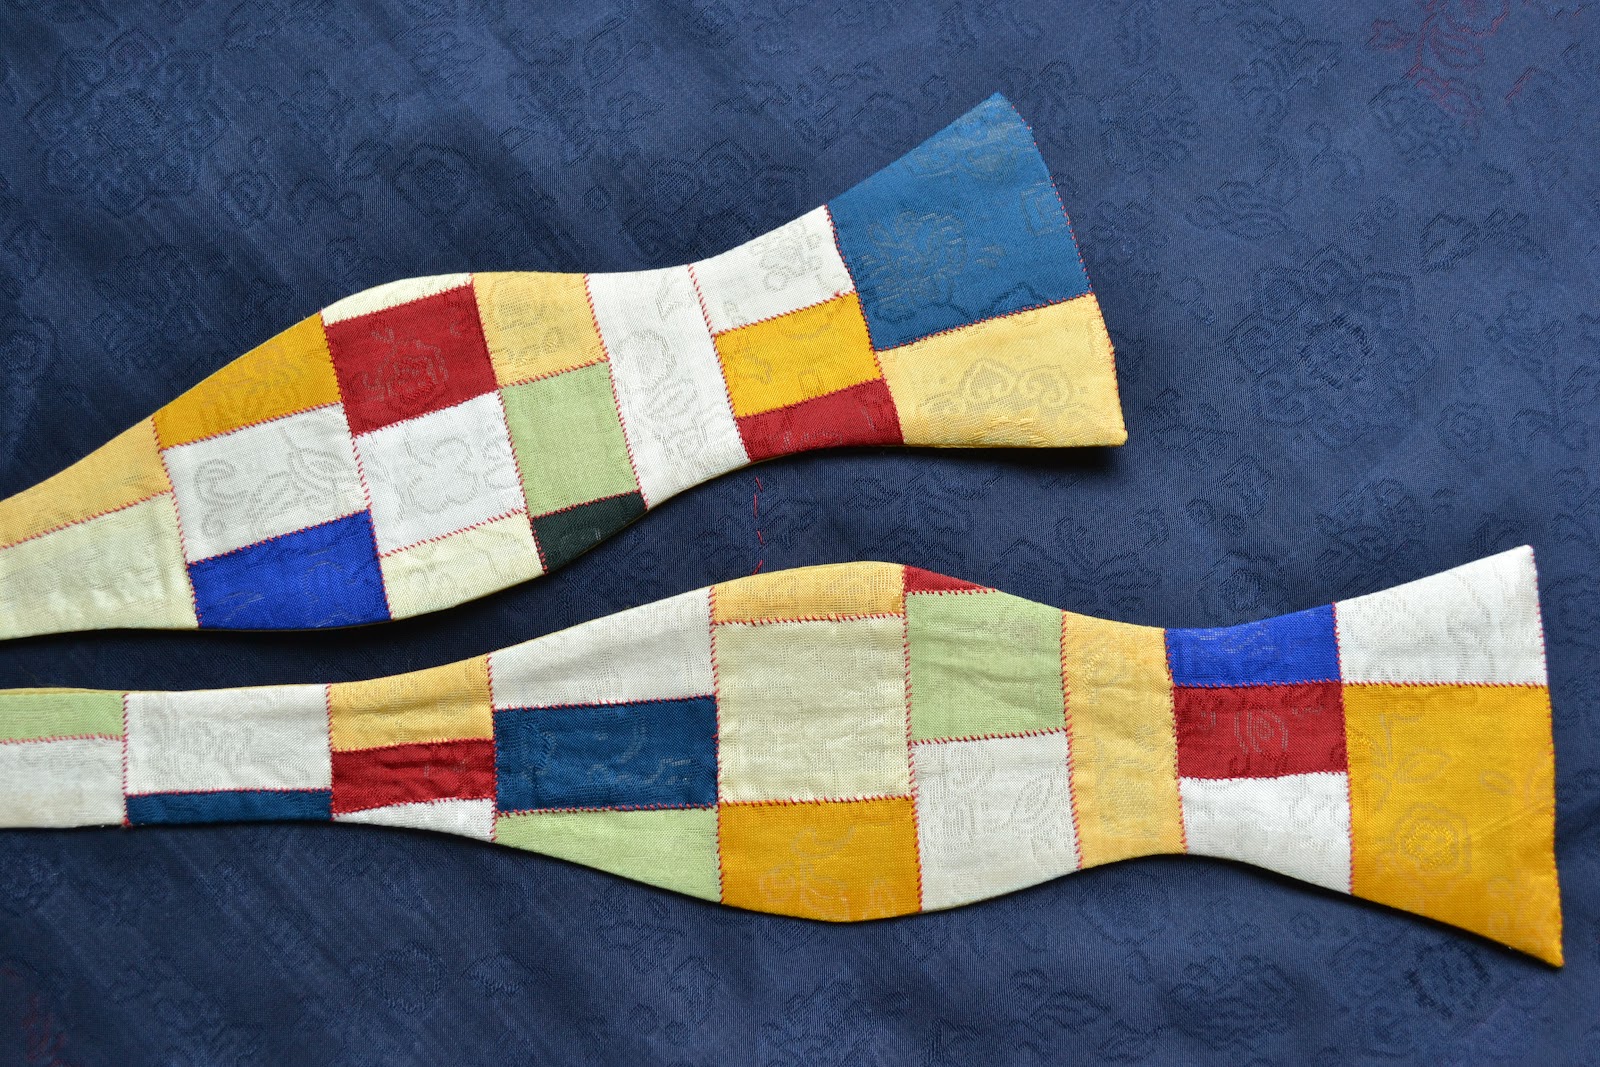
Last week, I mailed one package to my customer. This gift wrap bojagi has some thing very special.


I made rainbow of colors which people can wear it as a fashion statement. 
Especially for gentlemen!


Monday, February 21, 2011

Another New year's celebration

Last Sunday, I went to Oakland Museum to participate the Lunar New Year celebration festival.
Oakland museum was beautifully remodeled and I was so lucky to get a right spot to demonstrate my works. It was the art gallery right in front of this energetic composition of the colors! I should go back and see all the artworks in that art gallery some time. Because I was busy during that day so couldn't even look around.

People always like to hear about the history of  bojagi, how it works and how to make, etc.
The name Bojagi means, wrapping cloth in Korean.
I always bring  bojagi that I can show how to wrap, cover, carry and store objects.
This boajgi is used for covering the chest.
And this one is for wrapping presents.
These are especially for gift money!

When people make Bojagi in old days, they wished happiness of the recipients.
Imagine that every single stitch has a  blessing and a prayer! I can feel the power of love from Bojagi.
I am starting the new year with another Bojagi project and wish you all a happy and prosperous year! 


Friday, February 11, 2011

Spring News


The weather has been so nice lately so I can smell Spring in everywhere. 
Now I need to make something that suits to this warmth and voila!
I made new helmet bag/ kickboxing bag/ day trip bag with lots of happy colors.


This spacious bag has 8 pockets and a key holder.
And I could put this much in the bag!
And a matchy-matchy pouch!
One day I went to bring a bag to my favorite workout, kickboxing class.
Barbara saw it and now she wants one, too.


 Emi's bike bag and Peggy's Valentine's day goodie. Shh, Jim secretly ordered and Peggy suppose not to know about it until the valentine's day!


Thursday, February 10, 2011

Over the Rainbow- For my friend, Lucy-Part 1

Okay, this is for my friend, Lucy in Mexico City!
But I don't think Lucy would mind sharing this with other Bojagi enthusiasts.
I am going to teach this while ago but many other things just kept this from happening.
Let's make this together, Lucy!


Mujigae( rainbow) bojagi starts from a tiny square fabric.
Last time, I started with 1.5 inch square.
This time, I will start with 2 inch square so I can make a bigger bojagi with bolder lines.


1/4 inch seam allowance in every corner so finished center square is 1.5 inch.
Add same size squares on the left and right side of the center square.
 Then add 2 strips on the top and the bottom.

Repeat this and now I have bigger bojagi.